


Lady Bird Johnson’s Cheese Wafers: A Timeless Southern Classic Recipe
Few things evoke the charm and grace of the American South quite like a plate of perfectly baked cheese wafers. These savory bites, crisp and flavorful, are a staple at gatherings, holidays, and afternoon tea. While many variations exist, one recipe stands out for its historical connection and delightful taste: Lady Bird Johnson’s Cheese Wafers. This recipe, popularized by the former First Lady, offers a glimpse into Southern hospitality and culinary tradition.
This article delves into the history of this iconic recipe, providing a detailed, step-by-step guide to recreating Lady Bird Johnson’s cheese wafers in your own kitchen. We’ll explore the ingredients, techniques, and variations, ensuring your wafers are a resounding success.
A Taste of History: Lady Bird Johnson and Southern Cuisine
Claudia Alta “Lady Bird” Johnson, the wife of President Lyndon B. Johnson, was more than just a First Lady; she was a symbol of Southern grace and charm. Born and raised in Texas, she understood the importance of hospitality and the power of food to bring people together. During her time in the White House, Lady Bird Johnson championed Southern cuisine, showcasing its richness and diversity to the nation and the world.
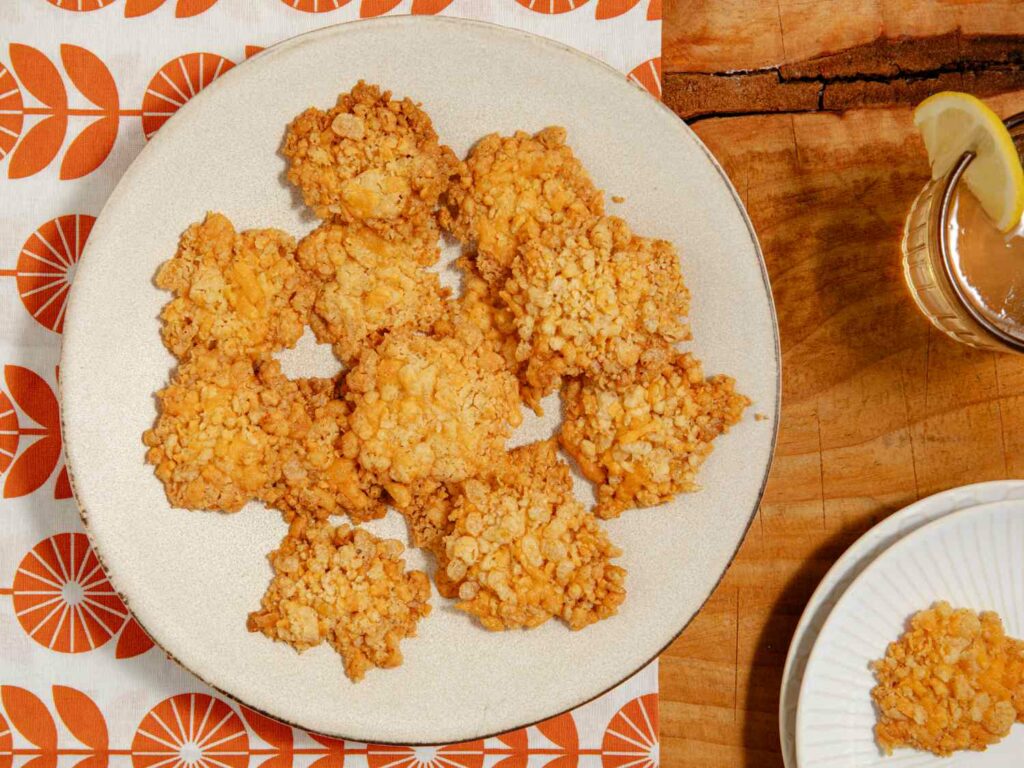
Her cheese wafers, a simple yet elegant appetizer, became a signature dish associated with her name. Passed down through generations, this recipe reflects the resourcefulness and ingenuity of Southern cooks who transformed readily available ingredients into culinary masterpieces. The wafers were often served at White House receptions and events, solidifying their place in American culinary history.
The Perfect Cheese Wafer: Ingredients and Preparation
Lady Bird Johnson’s cheese wafer recipe is deceptively simple, relying on high-quality ingredients and careful technique. Here’s a breakdown of what you’ll need:
Ingredients:
* **All-Purpose Flour:** 2 cups. The foundation of the wafer, providing structure and texture. Sifted flour will result in a lighter, more delicate wafer.
* **Sharp Cheddar Cheese:** 1 pound, grated. The star of the show! Sharp cheddar provides a robust, tangy flavor that is essential to the authentic taste of these wafers. Use a block of cheese and grate it yourself for the best flavor and texture. Pre-shredded cheese often contains cellulose and other additives that can affect the final product.
* **Butter:** 1 cup (2 sticks), unsalted, softened. Butter adds richness, flavor, and tenderness to the wafers. Ensure the butter is properly softened, but not melted, for optimal incorporation.
* **Salt:** 1 teaspoon. Enhances the flavors of the cheese and butter, balancing the richness of the wafers.
* **Cayenne Pepper:** 1/4 teaspoon (or more, to taste). A subtle kick that adds complexity and depth to the flavor profile. Adjust the amount to your personal preference.
* **Garlic Powder:** 1/2 teaspoon (optional). Adds a savory note that complements the cheese and other spices.
* **Worcestershire Sauce:** 1 teaspoon (optional). A secret ingredient that provides umami and a subtle tanginess. Use sparingly.
Equipment:
* **Mixing Bowls:** A large mixing bowl for combining the ingredients and a smaller bowl for optional ingredients like Worcestershire sauce.
* **Grater:** For grating the cheddar cheese.
* **Measuring Cups and Spoons:** For accurate ingredient measurements.
* **Plastic Wrap:** For chilling the dough.
* **Parchment Paper:** For lining the baking sheets.
* **Baking Sheets:** Two large baking sheets for baking the wafers.
* **Rolling Pin:** For rolling out the dough.
* **Pizza Cutter or Knife:** For cutting the dough into wafers.
* **Cookie Cutters (optional):** For creating decorative shapes.
* **Food Processor (optional):** Can be used to combine the ingredients quickly.
Step-by-Step Instructions: Baking Lady Bird Johnson’s Cheese Wafers
Now that you have your ingredients and equipment ready, let’s dive into the baking process. Follow these detailed instructions for perfect cheese wafers every time:
**Step 1: Prepare the Cheese and Butter**
* Grate the cheddar cheese using a box grater or food processor. Ensure the cheese is finely grated for even distribution in the dough. Set aside.
* Soften the butter to room temperature. The butter should be soft enough to easily cream with the other ingredients, but not melted. You can leave it out at room temperature for about an hour, or soften it in the microwave in short bursts, being careful not to melt it.
**Step 2: Combine the Dry Ingredients**
* In a large mixing bowl, sift together the all-purpose flour, salt, cayenne pepper, and garlic powder (if using). Sifting the flour ensures that it is light and airy, which will contribute to a more tender wafer.
* Whisk the dry ingredients together to ensure they are evenly combined.
**Step 3: Cream the Butter and Cheese**
* Add the softened butter to the bowl with the dry ingredients. Using your hands or a pastry blender, cut the butter into the flour until the mixture resembles coarse crumbs. This process helps to create a flaky texture in the final product.
* Add the grated cheddar cheese to the bowl. Using your hands or a wooden spoon, mix the cheese into the flour and butter mixture until it is evenly distributed and the dough begins to come together.
* If using Worcestershire sauce, add it to the bowl and mix until incorporated.
**Step 4: Form the Dough**
* Gather the dough into a ball. If the dough is too dry, add a teaspoon of cold water at a time until it comes together. Be careful not to overwork the dough, as this can result in tough wafers.
* Divide the dough in half. This will make it easier to roll out and handle.
* Shape each half into a disc. Wrap each disc tightly in plastic wrap and refrigerate for at least 2 hours, or preferably overnight. Chilling the dough allows the gluten to relax and the flavors to meld, resulting in a more tender and flavorful wafer. It also makes the dough easier to roll out.
**Step 5: Preheat the Oven and Prepare the Baking Sheets**
* Preheat your oven to 350°F (175°C). Ensure your oven is properly calibrated for accurate baking temperatures. An oven thermometer can be helpful.
* Line two baking sheets with parchment paper. This will prevent the wafers from sticking and make cleanup easier.
**Step 6: Roll Out and Cut the Dough**
* Remove one disc of dough from the refrigerator. Place it on a lightly floured surface. Use a rolling pin to roll out the dough to about 1/8-inch thickness. Thinner wafers will be crispier, while thicker wafers will be slightly softer.
* Use a pizza cutter or knife to cut the dough into squares, diamonds, or other desired shapes. Alternatively, use cookie cutters to create decorative shapes.
* Carefully transfer the cut wafers to the prepared baking sheets, leaving a small space between each wafer. Reroll any scraps of dough and repeat the cutting process.
* Repeat the process with the remaining disc of dough.
**Step 7: Bake the Cheese Wafers**
* Bake the cheese wafers in the preheated oven for 12-15 minutes, or until they are lightly golden brown around the edges. The baking time may vary depending on your oven, so keep a close eye on the wafers to prevent them from burning.
* Rotate the baking sheets halfway through baking to ensure even browning.
* Remove the baking sheets from the oven and let the wafers cool on the baking sheets for a few minutes before transferring them to a wire rack to cool completely. This will allow them to crisp up further.
**Step 8: Serve and Enjoy**
* Once the cheese wafers are completely cool, they are ready to serve. These wafers are delicious on their own as a snack or appetizer. They also pair well with soups, salads, dips, and spreads.
* Store leftover cheese wafers in an airtight container at room temperature for up to a week. They can also be frozen for longer storage. To freeze, place the wafers in a single layer on a baking sheet and freeze until solid. Then, transfer them to a freezer-safe bag or container. Thaw at room temperature before serving.
Tips for Perfect Cheese Wafers
* **Use High-Quality Cheese:** The quality of the cheese will significantly impact the flavor of the wafers. Opt for a sharp, aged cheddar for the best results.
* **Don’t Overwork the Dough:** Overworking the dough can result in tough wafers. Mix the ingredients just until they are combined.
* **Chill the Dough Thoroughly:** Chilling the dough is essential for preventing the wafers from spreading and for developing the flavor.
* **Roll the Dough Thinly:** Thin wafers will be crispier and more delicate.
* **Watch the Baking Time Carefully:** Cheese wafers can burn easily, so keep a close eye on them while they are baking.
* **Experiment with Flavors:** Feel free to add other spices and herbs to the dough, such as paprika, onion powder, or dried rosemary.
Variations on Lady Bird Johnson’s Cheese Wafers
While the classic recipe is delicious on its own, there are many ways to customize it to suit your taste. Here are a few variations to try:
* **Spicy Cheese Wafers:** Increase the amount of cayenne pepper or add a pinch of red pepper flakes for a spicier kick.
* **Herb Cheese Wafers:** Add a tablespoon of chopped fresh herbs, such as rosemary, thyme, or oregano, to the dough.
* **Smoked Cheese Wafers:** Use smoked cheddar cheese for a smoky flavor.
* **Parmesan Cheese Wafers:** Substitute some of the cheddar cheese with grated Parmesan cheese for a nutty flavor.
* **Jalapeño Cheese Wafers:** Add finely chopped jalapeños to the dough for a spicy and cheesy treat.
* **Pecan Cheese Wafers:** Incorporate finely chopped pecans into the dough for added texture and nutty flavor. This adds a Southern twist to the classic recipe.
Serving Suggestions: Elevating Your Cheese Wafer Experience
Lady Bird Johnson’s cheese wafers are incredibly versatile and can be served in a variety of ways. Here are some serving suggestions to elevate your cheese wafer experience:
* **As an Appetizer:** Serve the wafers on a platter with a variety of dips, such as pimento cheese, spinach artichoke dip, or hummus.
* **With Soup:** Crumble the wafers over a bowl of creamy tomato soup or butternut squash soup for added flavor and texture.
* **With Salad:** Use the wafers as croutons on a salad for a savory crunch.
* **With Wine and Cheese:** Pair the wafers with a selection of cheeses and wines for a sophisticated appetizer.
* **As a Garnish:** Use the wafers as a garnish for cocktails or other beverages.
* **In a Charcuterie Board:** Integrate the wafers into a charcuterie board alongside cured meats, cheeses, olives, and other accompaniments.
The Legacy of Lady Bird Johnson’s Cheese Wafers
Lady Bird Johnson’s cheese wafers are more than just a recipe; they are a symbol of Southern hospitality, culinary tradition, and the enduring legacy of a remarkable First Lady. This simple yet elegant dish continues to delight and inspire, reminding us of the power of food to bring people together and create lasting memories.
By recreating this classic recipe in your own kitchen, you are not only enjoying a delicious treat but also connecting with a piece of American history. So, gather your ingredients, preheat your oven, and embark on a culinary journey that will transport you to the heart of the South.
Enjoy the process, savor the flavors, and share the warmth of Lady Bird Johnson’s cheese wafers with your loved ones. These wafers are a testament to the simple pleasures of life and the enduring power of a well-made dish.
Bon appétit!