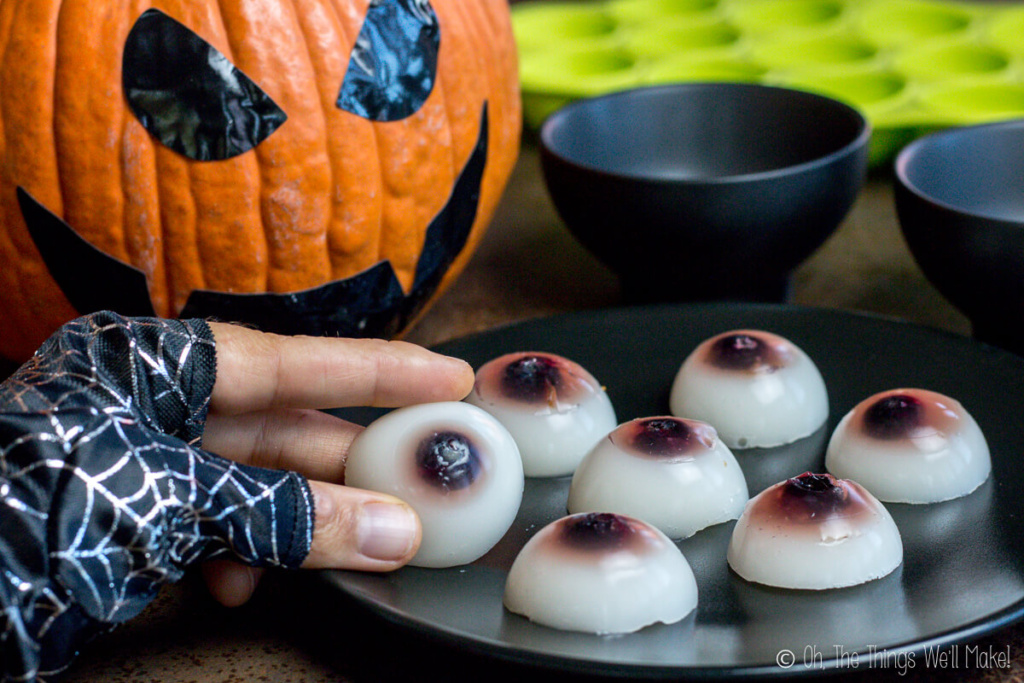
Spooktacular Halloween Eyes Recipe: A Festive Treat for All Ages
As the air turns crisp and colorful leaves blanket the ground, the haunting season of Halloween is upon us! Pumpkins, ghosts, and ghouls fill the streets as families prepare for a night of trick-or-treating and spooky celebrations. One of the best ways to get into the Halloween spirit is by whipping up some eerily delightful treats. This year, why not wow your friends and family with a fun recipe for Halloween Eyes? These tasty, creepy snacks are perfect for Halloween parties, school treats, or simply satisfying your sweet tooth while embracing the spooky vibes.
In this blog post, we’ll guide you through making these terrifyingly delicious Halloween Eyes that will have everyone wide-eyed with delight!
Ingredients
For the Eye “Base”
- 1 cup of creamy peanut butter (or almond butter for a nut-free option)
- 1 cup of powdered sugar
- 1 cup of graham cracker crumbs
- 1 teaspoon of vanilla extract
- A pinch of salt
For Decoration
- 1 cup of white chocolate chips (or white melting candy)
- 1-2 tablespoons of coconut oil (optional, for easier melting)
- Food coloring (red, green, or blue)
- Mini chocolate chips or candies (for the pupils)
- Red icing gel (for extra detail)
Instructions
Step 1: Prepare the Base
- Mix Ingredients: In a large mixing bowl, combine the creamy peanut butter, powdered sugar, graham cracker crumbs, vanilla extract, and salt. Use a spatula or your hands to mix until fully combined. The mixture should be thick and moldable.
- Shape the Eyes: Once mixed, take small portions of the mixture and shape them into oval “eye” shapes, about the size of a golf ball. Place them on a parchment-lined baking sheet and refrigerate for about 30 minutes to firm them up.
Step 2: Melt the Chocolate
- Melt White Chocolate: Using a microwave-safe bowl, combine white chocolate chips with coconut oil (if using). Heat in the microwave in 30-second intervals, stirring after each interval until smooth and fully melted. Be careful not to overheat!
- Add Color: If you’d like to customize the color of your eye “whites,” divide the melted chocolate into separate bowls and add a few drops of food coloring. Mix until you achieve your desired shades.
Step 3: Decorate the Eyes
- Coat the Base: Remove the eye shapes from the fridge. Dip each one into the melted white chocolate, ensuring they are fully coated. Use a fork to lift them out, allowing excess chocolate to drip off before placing them back on the parchment paper.
- Add Pupils: While the chocolate is still wet, gently press a mini chocolate chip or candy into the center of each eye for the pupil.
- Create Veins: For added effect, use red icing gel to draw squiggly lines on the whites of the eyes to resemble spooky veins. You can also use a toothpick to create texture.
Step 4: Chill and Serve
- Let Them Set: Once you’ve decorated your Halloween Eyes, place the baking sheet back in the refrigerator for another 30 minutes to allow the chocolate to harden.
- Serve: Once set, transfer your spooky treats to a serving platter. These ghastly gems are sure to impress and delight your guests!
Tips for Success
- Customization: Feel free to get creative! You can experiment with different colors for the eye whites or use a variety of candies for pupils to suit your Halloween theme.
- Allergy Alternatives: Modify the recipe for dietary preferences. You could use sunbutter instead of peanut butter for a nut-free option or replace white chocolate with dairy-free alternatives.
- Storage: Keep any leftovers (if there are any!) in an airtight container in the refrigerator for up to a week.
These Halloween Eyes are not only a feast for the eyes but also a deliciously sweet treat that will add a frightful touch to your Halloween festivities! Whether served at a party or as a fun surprise for your family, these spooky snacks are sure to be a hit. So gather your ingredients, summon your creativity, and get ready to conjure up some fun in the kitchen this Halloween. Happy haunting! 🍬👻

